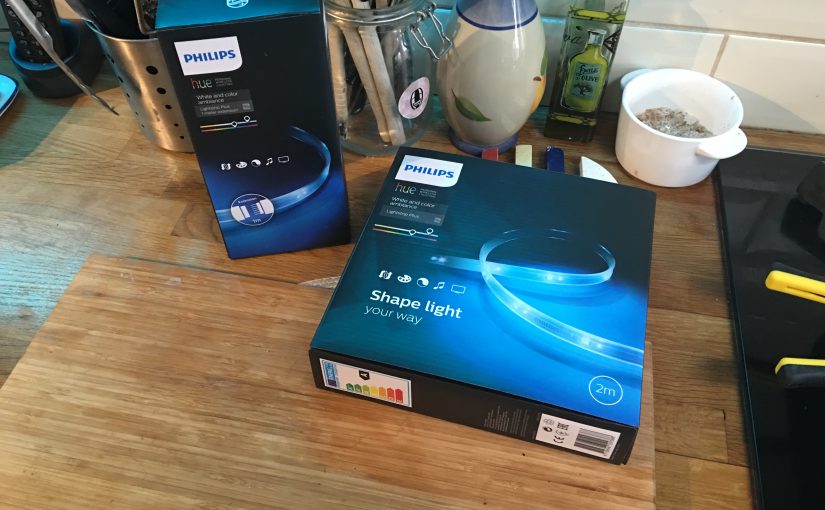
Like many, I have smart lighting throughout my house. This includes my office and desk. Behind my beautiful ultrawide monitor, I have a 3m Philips Hue strip which helps add some peripheral light and softens the glare when using the screen. I use scenes to adjust the level of white light towards early evening, but I’ll save that for another day. While I can manage the lights in the room based on motion, I wasn’t doing anything with my monitor lights as I might have been working, but the room could have had no movement. This would have resulted in the monitor lights turning off and would have been frustrating, so I decided to integrate whether my workstation is locked or unlocked or not with Home Assistant.
Previously I had a PowerShell script that I could run that would hit the Hue API to toggle my lights on or off but since I have moved away from my Hue bridge this no longer works plus it wasn’t automated, but this was a good starting point. The sysadmin in me remembered there was a trigger in Task Scheduler that would be a task when the workstation was locked or unlocked, which gave me the trigger for my Home Assistant integration.

The next part was talking to the Home Assistant to perform service calls such as light.turn_on or scene.turn_on. Fortunately, I know Home Assistant provides great extensibility and has a fantastic rest API, so that was Home Assistant. This just left the process to call the API. For this, I wanted to stick with PowerShell as it is very versatile and I use it all day long anyway.
I had a prototype working very quick, but I wanted something more modular and parameter-based to use for other things. This is when I took found Flemming Sørvollen Skaret’s Home Assistant PowerShell Module. His PowerShell module is awesome and really handy. I was off and running with it within minutes. So I decided to leverage this module in my Task Scheduler automation. And that was that, but I still had to hook it all together.
- 2 x Task Scheduler Tasks – triggered when the workstation is locked and unlocked
- 1 x VBScript to launch our PowerShell script so it is hidden
- 1 x Flemming’s Home-Assistant PowerShell Module
- 1 x PowerShell script to call the Home Assistant API
- 1 x Home Assistant long-live token
- 1 x entity in Home Assistant (a light, scene or input_boolean for example)
Task Scheduler
First I created two tasks in Task Scheduler. One for when the workstation locks and the other for when it is unlocked. When these tasks are triggered, they call a VBScript with some parameters. Yes. An actual 1900’s VBScript in 2020. For the life of me, I could not stop or prevent the PowerShell console from flashing up. I’m a UX nerd, and this wasn’t acceptable for me. I spent way too long on trying to solve this before I reverted to this well-known workaround of using WScript to execute the PowerShell script silently. These have been exported from Task Scheduler and therefore can be imported straight back in obviously correcting usernames and paths.
You will notice on line 46 above calls a common TaskSchedulerLauncher.vbs script along with the path to a ps1 file and the parameters to go with it wrapped in double-quotes.
Are you using a battery-powered device?
Geert van Horrik (@GeertvanHorrik) kindly pointed out that if you are using a battery-powered device like a laptop or a tablet you will need to change the conditions so the task runs when on battery power.

VBScript
Having to use the VBScript is annoying but not as annoying as the PowerShell console flashing up each time I unlocked my workstation. It calls PowerShell.exe and our script while also setting the window style to be hidden.
PowerShell
In order to interact with the Home Assistant API you will need a long-lived token. You can create one in the Long-Lived Access Tokens on the profile page (http://localhost:8123/profile). Be sure to name it something sensible and meaningful.
The token and information about my Home Assistant instance are stored as variables in the script. The service I want to call such as light.turn_on, scene.turn_on and input_boolean.turn_on and the entity_id (input_boolean.james_desk) are passed to this script as parameters.
Additionally, as the PowerShell script contains the token to Home Assistant I store the script within my profile and limit the permissions to the file to just myself.
Home Assistant
I started off by just toggling the state of my monitor light but I shortly realised I could achieve more if I knew my workstation was unlocked so I created an input_boolean.
I toggle the state of this each time my Windows 10 machine is locked and unlocked. This means I can do more than just turn my lights on or off. I use this input_boolean in my motion automation which prevents my room lights from turning off if my workstation is unlocked (no more crazy waves). It also stops my Dyson fan from oscillating and directs it towards my desk and changes the speeds if the temperature is above a threshold. I can also choose route TTS notifications through to my desk Sonos speakers or HTML5 notifications to just my workstation.
Best of all with Windows Hello I just sit down at my desk, and Home Assistant handles everything else because it knows my workstation is unlocked and the chances are I’m working or tinkering with something at my desk.
I’ve also used the same PowerShell method to create a set of quick actions that I can call from buttons on a Home Assistant Stream Deck board where I can call my favourite playlists and scenes. I’ve also created some TTS scripts to announce and nag when chores need to be done or when it is dinner time! I think I’ll save that for another post!
I 💕 my Home Assistant


