
Category: Journal
-
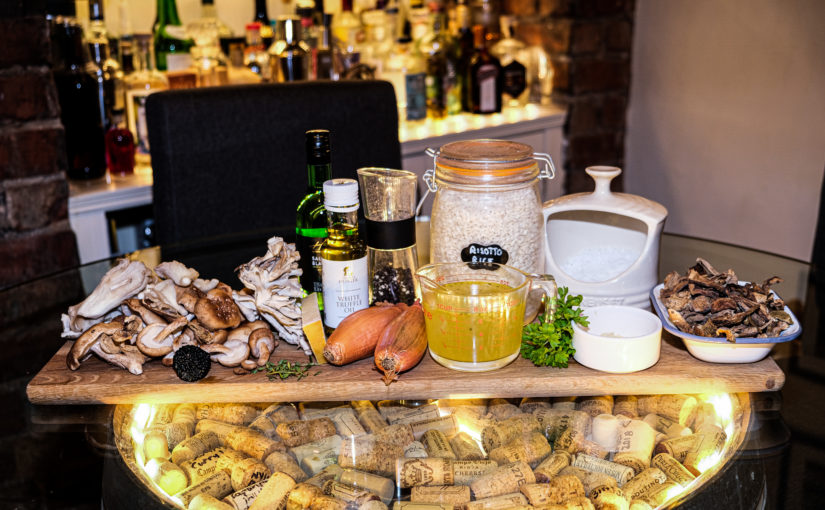
Delicate mushroom risotto
I’ve always been fond of risotto and during a work trip in Rotterdam, Netherlands this was reconfirmed when I had what was the most incredibly delicious mushroom risotto. Since then I have been just dying to cook it. But to cook it like the dish I had in the Netherlands I’ve had to source some…
-
Little Morton Hall
Visited Little Morton Hall, another National Trust property this weekend. This is a very wonky Tudor property that has been left entirely in its original state. The great gallery has some claims to tennis. I have shared a few more photos that are available on 500px here. You can browse my published portfolio over at 500px. Be…
-
Rutting Deer @ Tatton Park
I recently visited Tatton Park in Knutsford where the deer were rutting. This is a beautiful park to walk and plenty to do for kids too! This was my first time photographing deer this close and they gave me plenty of opportunities. I have shared a few more photos that are available on 500px. This…
-
Granada, Spain and Gibraltar
A recent trip to Granada, Spain filled me with joy after an absolutely stunning guided tour around the Alhambra. I also found a little gem of a steak restaurant called Apo restaurante on Plaza de San Lázaro 15. The trip finished with a road trip over to Gibraltar and Seville. The views of Africa from the…
-
Rufford Old Hall
A beautiful day to visit this Rufford Old Hall, a National Trust property. The grounds are lovely to walk as is the canal which is only a few minutes away. I have shared a few more photos that are available on 500px. You can browse my published portfolio over at 500px. Be sure to share your feedback.
-
Dunham Massey
There is nothing nicer than having a beautiful local park that you can visit. Dunham Massey, a National Trust estate is no exception and one of my favourite places alongside Tatton Park that I like to visit. The estate is wonderful and the garden is just beautiful. I have shared a few more photos that…
-
Pike Place Market, Seattle
I’m spending more time with one of my favourite hobbies again – photography. You can browse my published portfolio over at 500px. Be sure to share your feedback. This photo was taken shortly before I slipped and broke my ankle, leg and wrist in the incredible snow that fell in Seattle. I have this as…
-
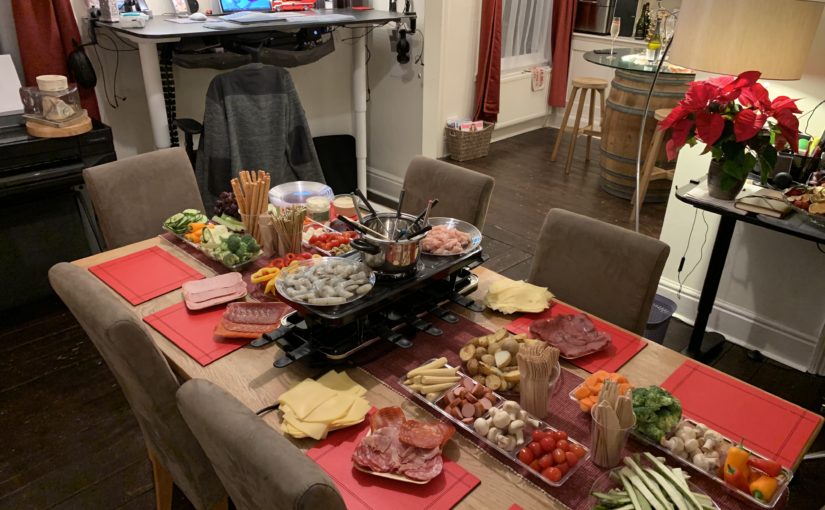
Fondue with friends
This year I will be welcoming in the New Year with friends at home in Manchester. The last year has undoubtedly been a trying year. A year that has seen much change and I welcome all the challenges and change that 2019 will see. I considered all kinds of recipes and food I wanted to…
-
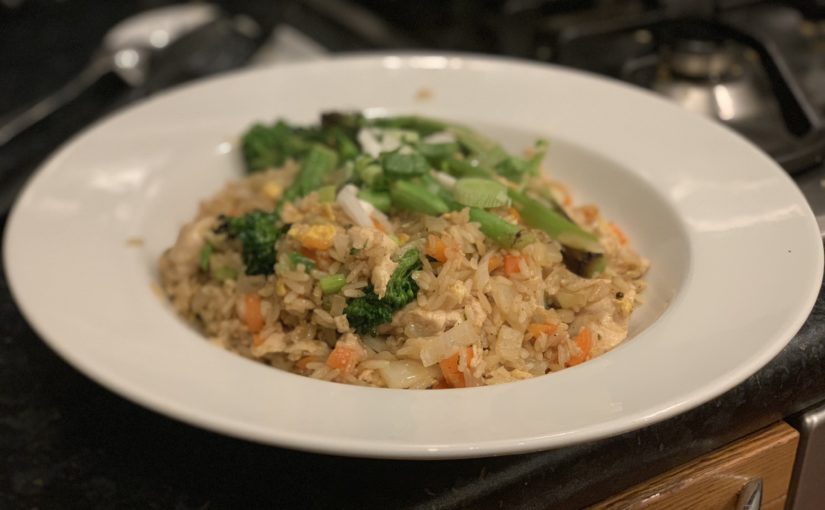
Chicken and vegetable egg fried rice
Last week I enjoyed a lovely Chinese meal out on my birthday in great company. The restaurant was incredible, as was the food. I wanted to eat everything. What I did eat was like nothing else I have had before, but it was the most simple of dishes that really hit my taste buds. A…
-
Hey friends…I’m back…
My last post was almost two years ago – 7 February 2017. I was writing about SharePoint, Office 365 and me breaking into the scene of IOT, Sonos, HUE and generally hacking around with home automation. These topics have continued to be at the forefront of my world since then and remain close to my heart.…
-
Lambing Time
During what was an incredibly hard time in my life, I was introduced to the most loving and magical farming family. They allowed me to help on their farm and gave me incredible opportunities, not only for me but for my daughter too. She will hold on to these moments for the rest of her…
-
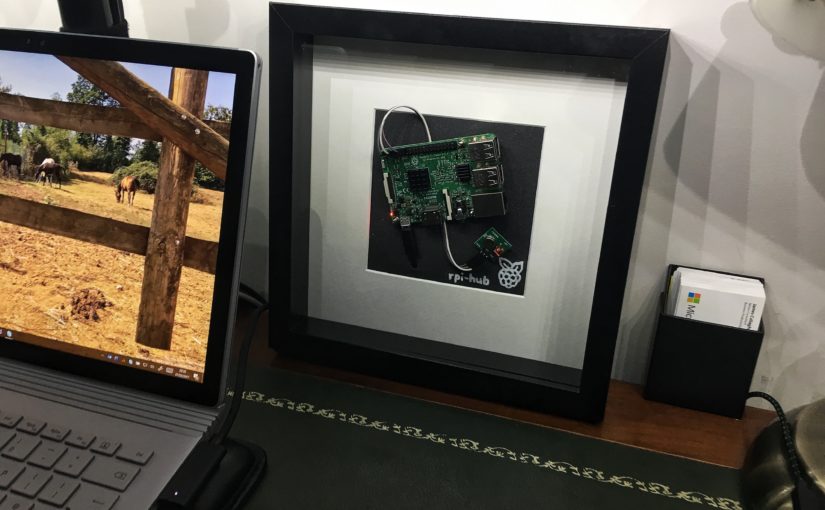
Framing an #IoT thing of beauty
A picture can tell a thousand words. That’s just what I wanted to achieve by placing my Raspberry Pi into a picture frame. This all started with a long trip to IKEA over the weekend. One of those trips where you get to the car and realise you have way too much to fit it all…